
Thrifted Sweater Mug Warmer DIY | Easy Upcycle Project
Is there anything better than a warm mug of coffee or tea on a chilly day? Now, imagine that mug wrapped in a cozy, handmade hug.
I have always enjoyed crafting easy upcycle projects that celebrate each new season, and this sweater mug warmer is one of my favorites. With a few simple supplies, you can turn a thrifted sweater into a functional cozy home item. We’re taking a classic cable knit sweater, some embroidery thread, and a wooden button to create a charming mug warmer that’s perfect for keeping your hands toasty and your drink warm. This is a quick and simple project you can finish in an afternoon—let’s get started!

Affiliate links are used for your convenience at no additional cost. Your support helps me support my blog, which allows me to bring you more free tutorials. Thank you! Please read my full disclosure here.
Thrifted Sweater Mug Warmer DIY
The weather here in Maryland has shifted to cooler temperatures. I find myself putting on a cozy sweater in the morning while working at the computer. The fall is all about a sense of coziness. Why not kick the season off with a fun fall project? This DIY sweater mug warmer project is perfect to keep a cup of coffee or tea warm longer. Wool, acrylic, or other sweater fibers are excellent insulators. It helps to trap in the heat and keeps your drink warmer for a longer period. Plus, it will help protect your hands from a hot mug that can be uncomfortable to hold. The sweater sleeve acts as a built-in level of protection.
It’s practical and functional for your everyday routine. What I love is that using a thrifted or old sweater not only saves money but also supports the economy. It’s a sustainable way to get your materials. By upcycling, you are not letting an old sweater go to waste or be thrown away; you’re giving it a new life. I am all about repurposing items!
Materials and Tools

Step-by-Step Tutorial
1. Choose a sleeve from your sweater.

The cuff of the sleeve is often the best part to use as it’s already finished and won’t fray.
Next, slide your mug inside the sweater sleeve.
Measure and mark where you’ll cut. You’ll want the sweater to cover most of the mug, but leave about a half-inch to an inch of the top exposed so you can drink from it comfortably.
Remove the mug and cut the sleeve with your scissors. You now have the basic shape of your mug warmer.
2. Create an Opening for the Handle

Slide the cut sleeve back onto the mug.
Position the sleeve so the cut edge is at the bottom and the cuff is at the top.
Mark the area where the mug handle is. Carefully cut a slit or an opening for the handle. You may need to trim around the handle so it fits snugly.
3. Finish the Edges

If you used the cuff of the sweater, the top edge is already finished. You don’t have to do anything else. However, the bottom portion and around the cutout for the handle will fray. To keep your edges from fraying, you have a few options:
4. Secure It in Place
Many sweaters, especially if they are a stretchy knit, will fit snugly and stay on the mug on their own. However, if your mug warmer is a little loose, you can secure it in place. You can add a few dots of foam, double-sided tape, or fabric glue to the inside of the mug warmer to keep it from slipping.
5. Embellishments


This is where you can get creative! The fun part of decorating your mug warmer. Sew on a button, add a little patch, or attach some decorative trim. You can make it your own and match your personal style. For my mug warmer, I painted a laser-cut wooden leaf with brown acrylic paint. With a tapestry needle, I thread a piece of hemp twine through the sweater. I slipped the leaf onto the twine and tied it in a bow.

Tips and Variation

Cozy long sweater jacket, available in a variety of colors to select from
Fall Open Front Knit Sweater Jacket
What I Am Loving For Fall

Stunning Long-Sleeve Button-Down Knit Sweater Dress With Belt Tie
Perfect dress for fall and winter. Available in several different colors.

For the house:
Other Fall Projects You May Enjoy


About The Handcrafted Society
It has been a joy to be a part of the Handcrafted Society. Follow along each month as we share the inspirational projects you can create for your home. This month, we will focus on projects using a sweater.
What I love about the Handcrafted Society is seeing all the passion and creativity that people bring to their work. We are creating using the same medium or around the same theme. It is so inspirational to see the interpretations of everyone’s projects.
You will find a gallery of this month’s projects at the end of this post. Each image links to the blogger’s tutorial, inspiring you to create something that reflects your style.


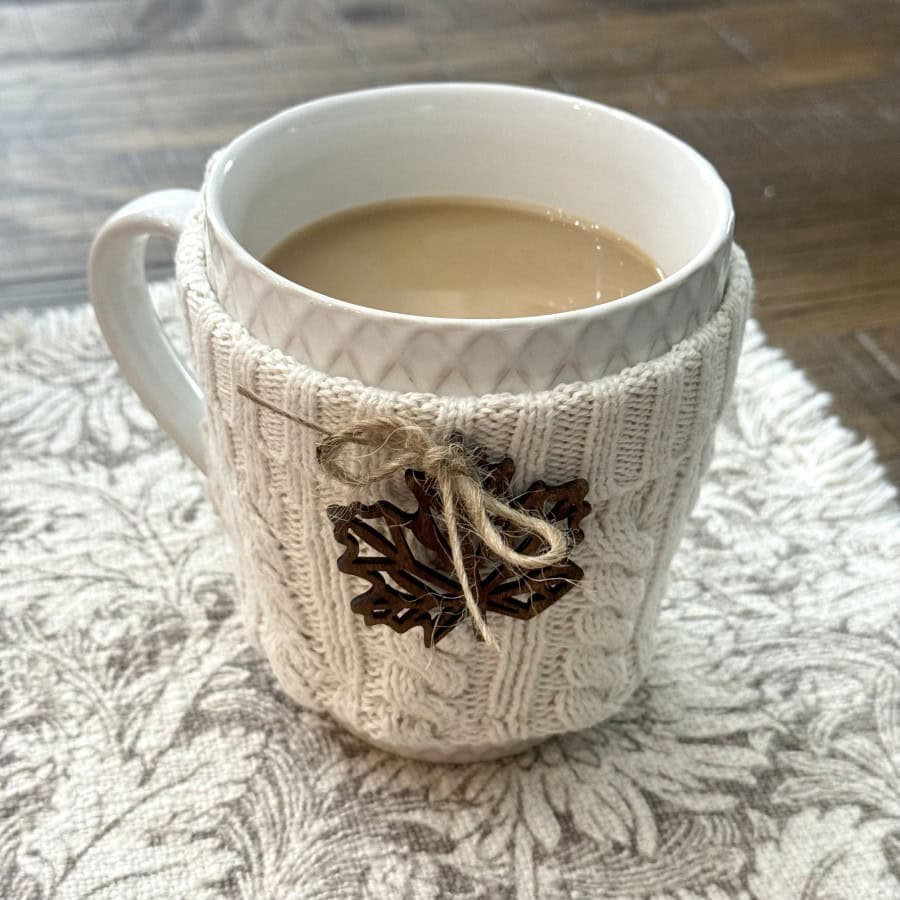


Head over to the links above to see the incredible creations from our talented Handcrafted Society members, and don’t be shy – share your project using #HandcraftedSociety on social media! We can’t wait to see what you come up with.
This quick DIY sweater mug warmer is a great way to add a bit of handmade coziness to your daily routine or to create a heartfelt gift for a friend. I hope this simple seasonal project inspires you to view old items in a new light. Now it’s your turn!

Thanks for crafting along with me. Happy upcycling!


Tammy, your sweater mug warmer is so cute and I love the sweet leaf embellishment! I’ve been wanting to buy a mug warmer but I think making one is much for fun! Plus I have a left over sleeve from my project! 😉
YES, Michelle make yourself one. You may even have a sweater in the closet to cut up. It’s fun to make something instead of tossing it out. Save our planet and recycle!
This looks like such a cozy way to snuggle up with a pumpkin spice latte, Tammy. I love that you give this sweater a brand new purpose. It’s a fabulous and budget friendly way to celebrate the season. Can’t wait to try this too! Hugs, CoCo
Thank you, CoCo. I have been using it everyday since making it. I had fun making it for myself.
This is such a cute and cozy idea, Tammy! It’s the perfect way to keep our yummy fall drinks warm for longer! I adore that wood leaf embellishment; it’s such a sweet addition!
Thanks so much, Donna. It was a fun and easy project.
What a darling project Tammy! and it would sure make a cute gift with a bag of coffee or hot cocoa. I am glad your weather has cooled off, we are still waiting here in Ca. still close to 100, way too hot for me.
Thank you, Wendy. Honestly, I would love for it to still be hot here. We had the pool finished in August and only a couple of weeks to enjoy it.
What a fun, fun project! And your little leaf is the perfect extra touch.
Thank you, Diane.
I love quick and easy projects! This one is charming and the little embellishment is adorable. Happy Fall! Pinned!
Thank you, Anna. I don’t like complicated projects. Time is important and crafting should be easy and fun!
Tammy – What a fun idea – I just love it and it would make such cute gifts for the holidays to add your own touch to a mug filled with a cocoa mix. I’m “stealing” it!
YES!!! And, Lynn you could have removable charms like a leaf now and a snowflake later. You could use the metal charms too.
What a cute DIY! Perfect for my cup of tea. :)
Thank you, Kim.
Oh my goodness, Tammy. This is such an adorable idea. I love it! I can’t wait to share in my weekly recap later today.
Thank you so much, Jen. I appreciate it!