
Spooky Chic: Upcycled Frame Into A Skeleton Wreath
Are you ready to transform a forgotten frame into a stunning, spooky-chic statement piece for your Halloween decor? This fun DIY upcycled skeleton wreath combines the elegance of florals with a touch of spooky charm. It’s the perfect project for adding a handmade, festive touch to your front door, over a mantel, or a cozy corner of your home.
Let me show you how to transform a forgotten frame into a stunning, spooky-chic statement piece for your Halloween decor. Create a beautiful, custom Halloween wreath that will have everyone asking where you got it! The best part is that this project is easy and fun. Why spend upwards of $99 at a store when you can create something fun and beautiful?
Affiliate links are used for your convenience at no additional cost. Your support helps me support my blog, which enables me to provide you with more free tutorials. Thank you! Please read my full disclosure here.
DIY Spooky Skeleton Wreath
Why Upcycle a Frame for Halloween?
- Sustainability: Give new life to an old item.
- Uniqueness: Create a one-of-a-kind decoration.
- Cost-Effective: Save money on new decor.
- Creative Freedom: Customize to your style.
Supplies
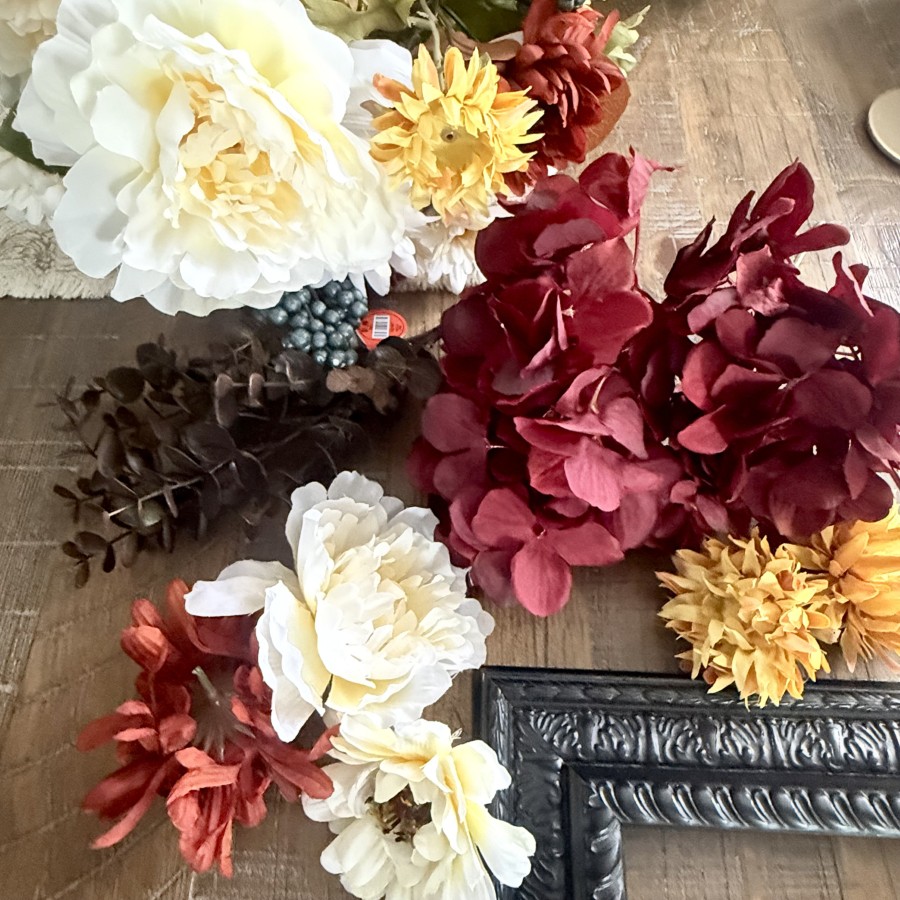
Materials you will need:
- Old Picture Frame (large, sturdy)
- Assorted Faux Florals (dark colors, autumn tones, or spooky varieties)
- Six skeletons (6 inches)
- Small skeleton skull
- Small faux pumpkin 3″ (floral pumpkin)
- Glue Sticks for Hot Glue Gun
- Ribbon or Twine (for hanging)
- Optional: Add battery-operated, timer fairy lights in warm white or purple.
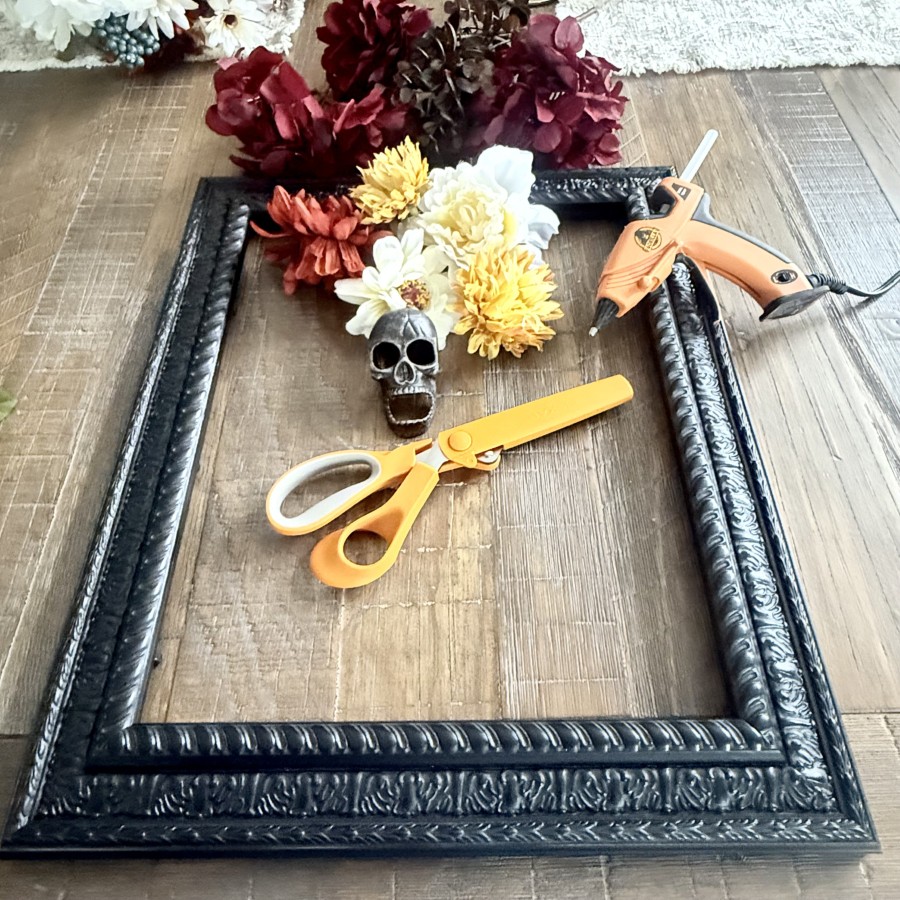
Tools:
- Hot Glue Gun
- Pliers (for snipping floral stems)
- Scissors (optional for cutting ribbon or twine for hanging.

Step-by-Step Tutorial: Crafting Your Skeleton Wreath
1. Prepare your frame:
- Clean the frame thoroughly to remove any dust or dirt.
- (Optional) Paint the frame a new color (e.g., matte black, distressed white) and let it dry completely. Can you believe I found this frame already black at a thrift store? I knew it would be perfect for a Spooktacular project!
- Remove any glass or backing from the frame.
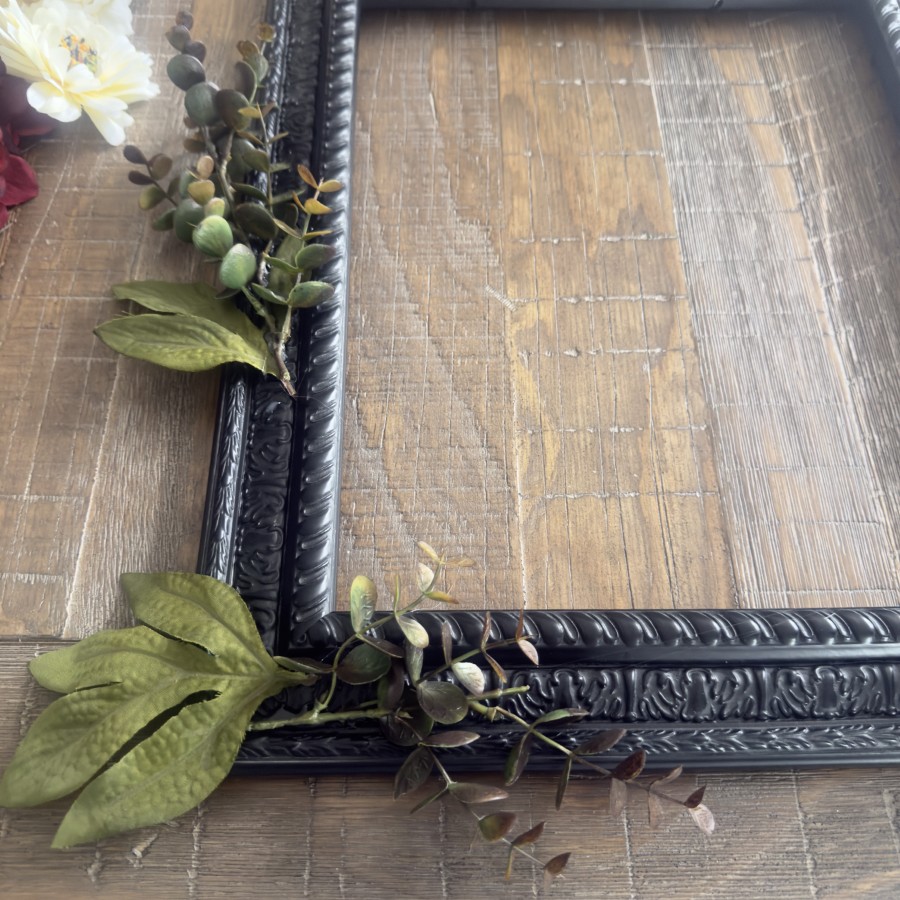
2. Arrange your florals:
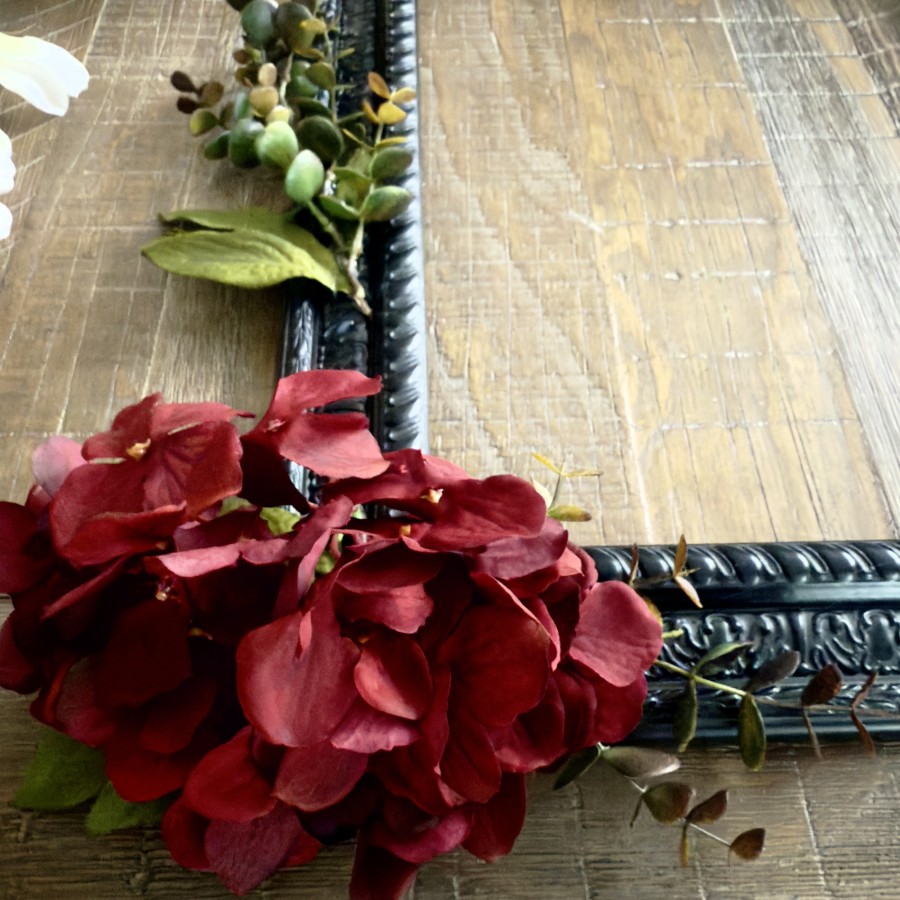
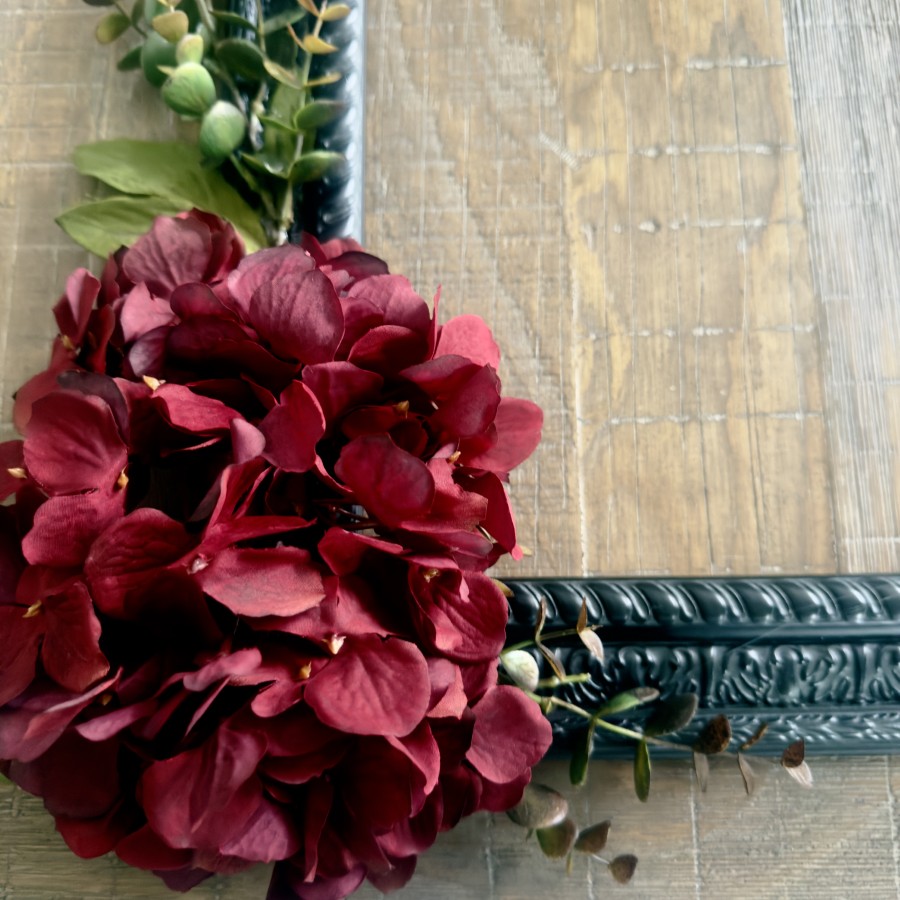
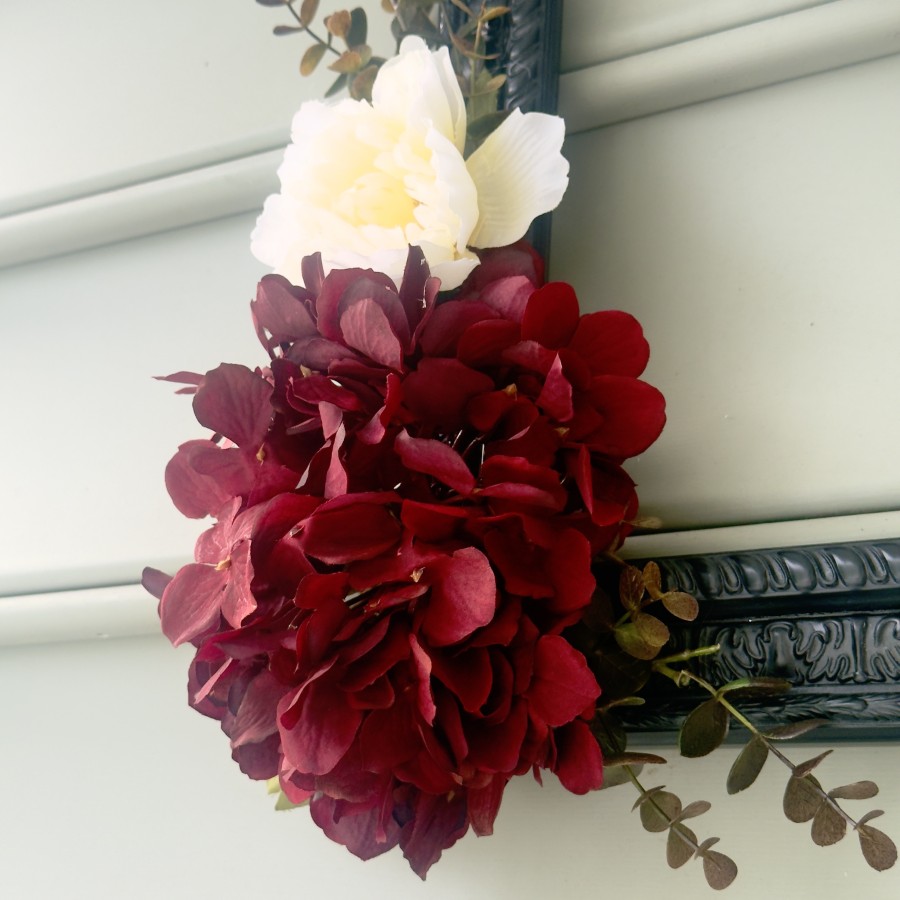
- Trim your faux florals to the desired lengths.
- Begin arranging the leaves, stems, and faux flowers around the frame, weaving them through the bottom corners of the frame’s structure or securing them with hot glue.
- Focus on creating a balanced and visually appealing arrangement that complements the ghosts.
3. Add fun embellishments:
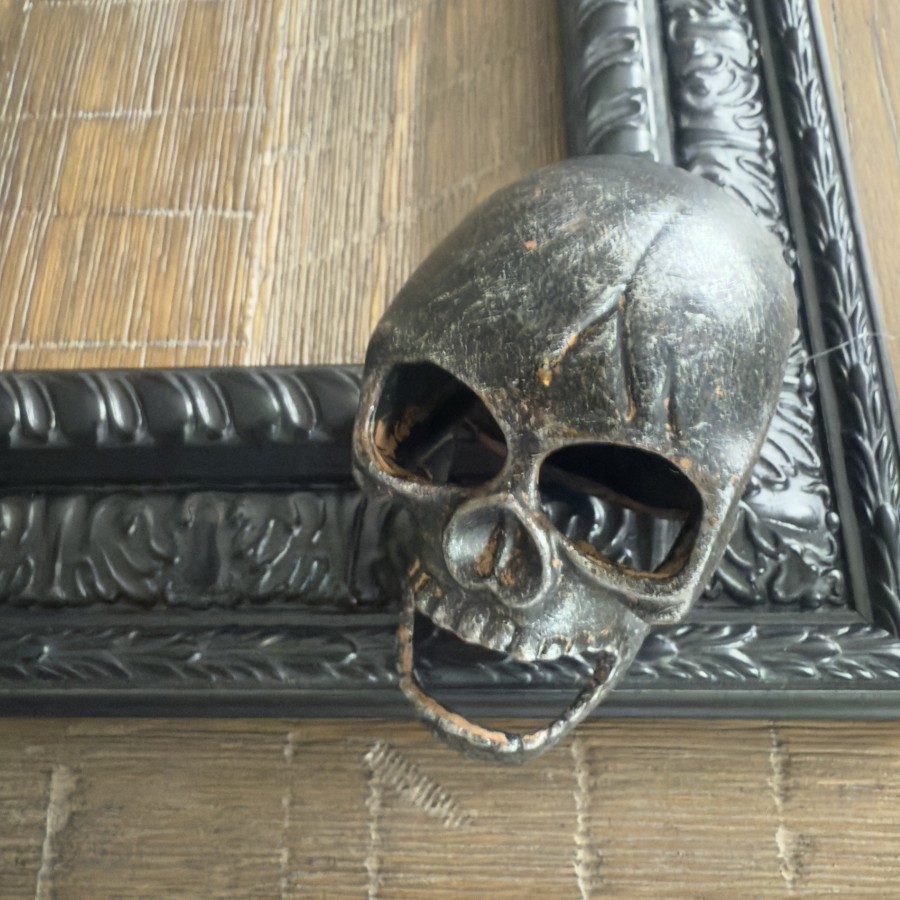
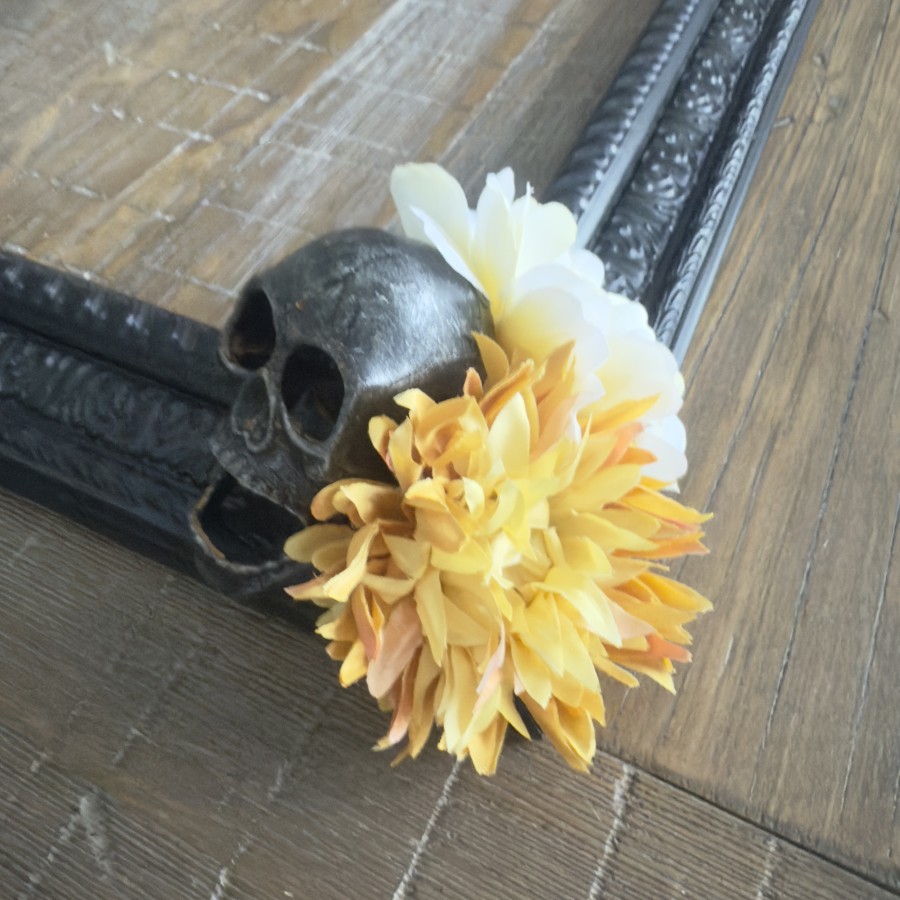
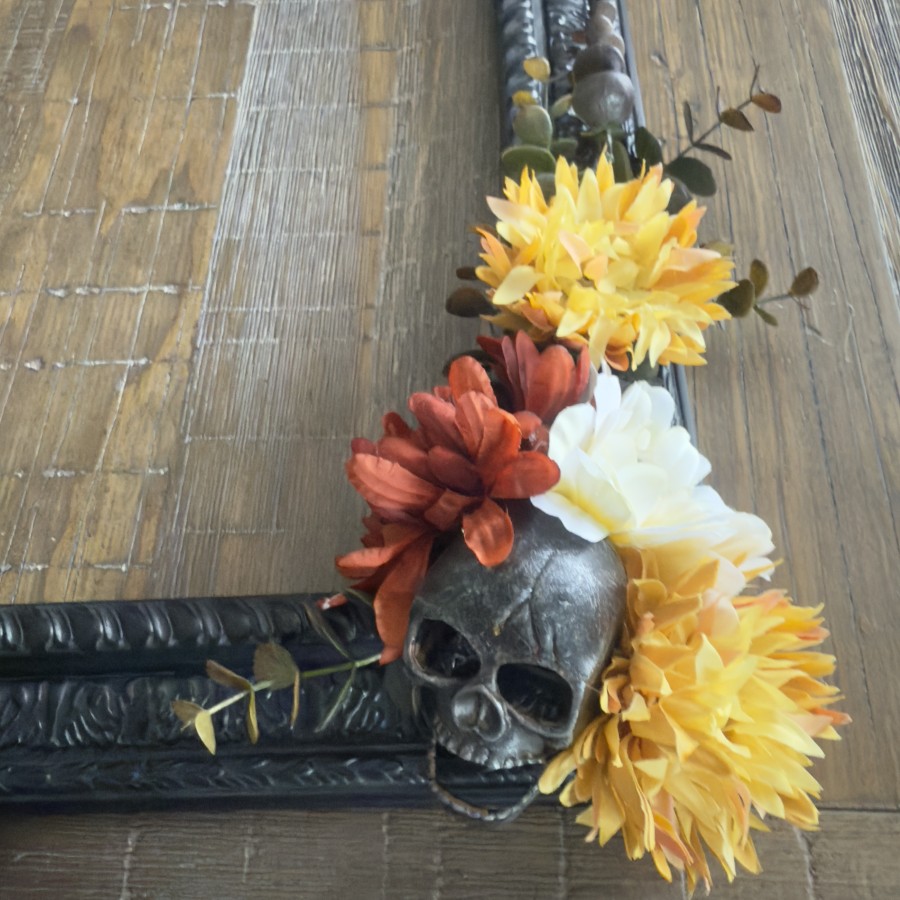
- Add embellishments, such as a metal skull or pumpkin, to the frame. Small posable skeletons can be hot-glued to the frame.
- Bats would be another fun option.
- Begin arranging the leaves, stems, and faux flowers around the frame, weaving them through the bottom corners of the frame’s structure or securing them with hot glue.
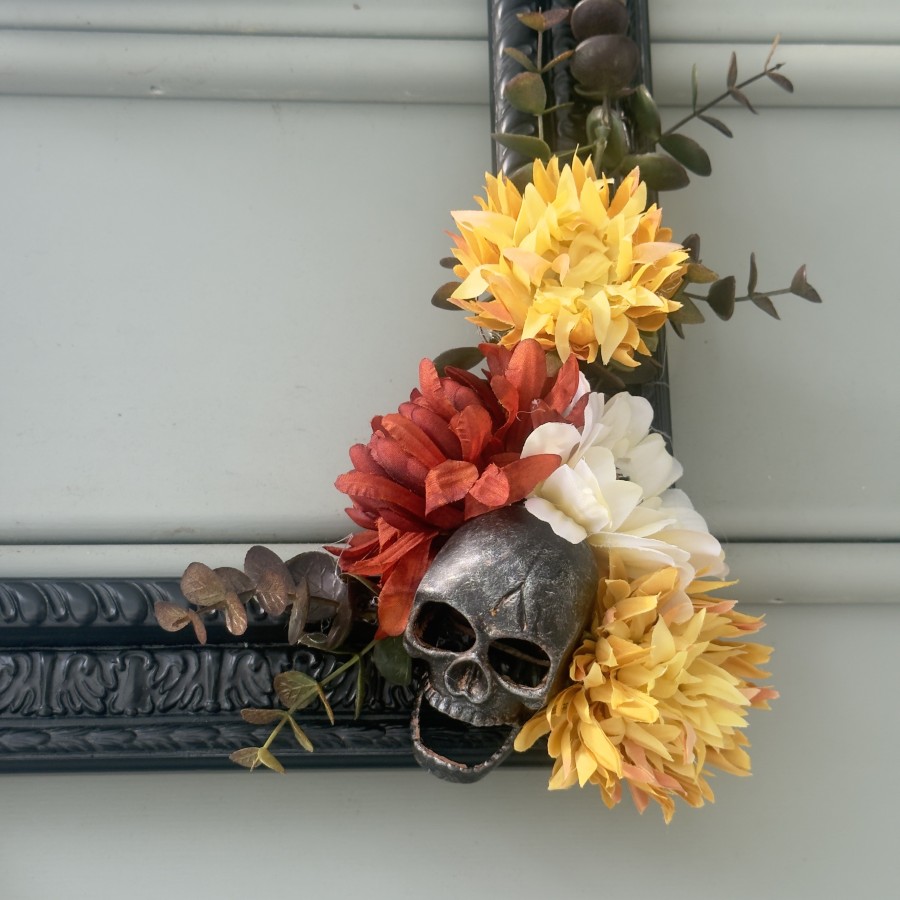
- Focus on creating a balanced and visually appealing arrangement that complements the skull.
- Strategically place your skeletons around the frame.
- Use hot glue to secure them in place, making some appear to float or peek out from the surface.
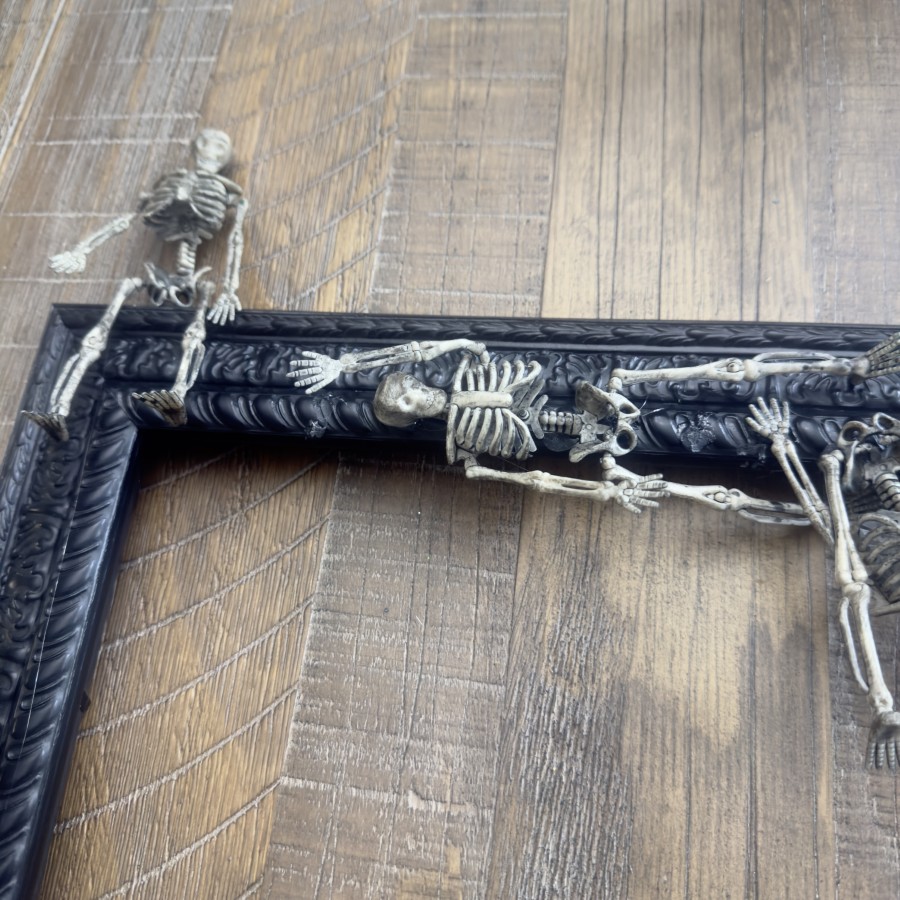
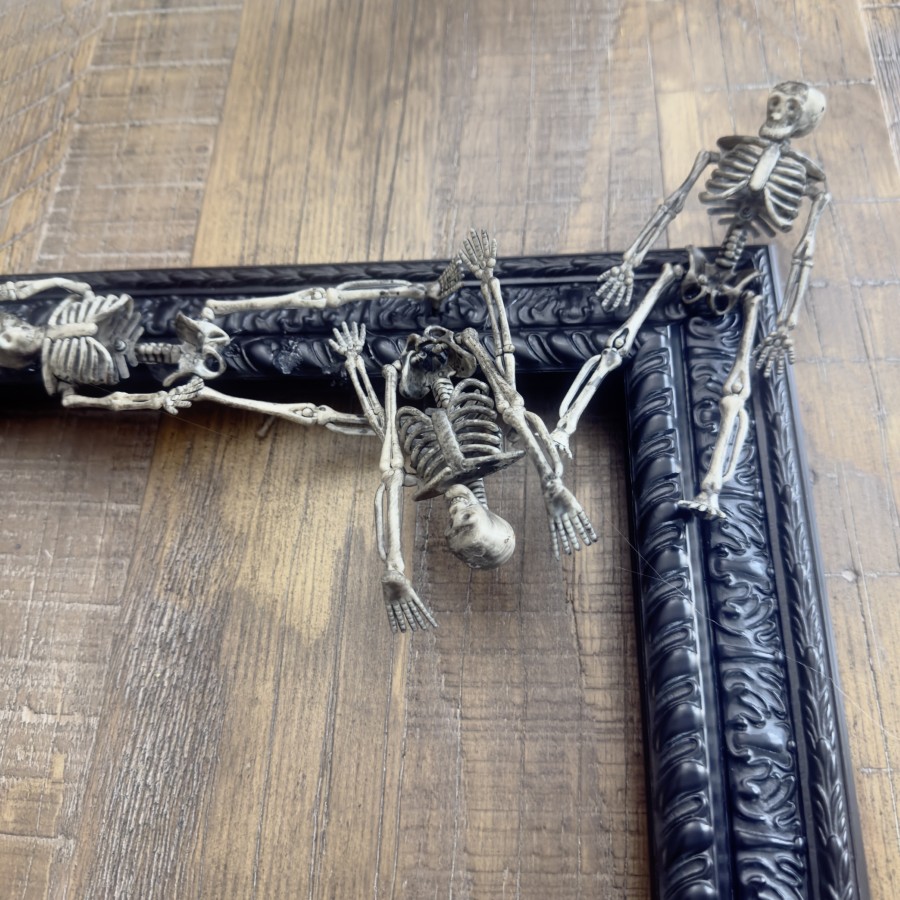
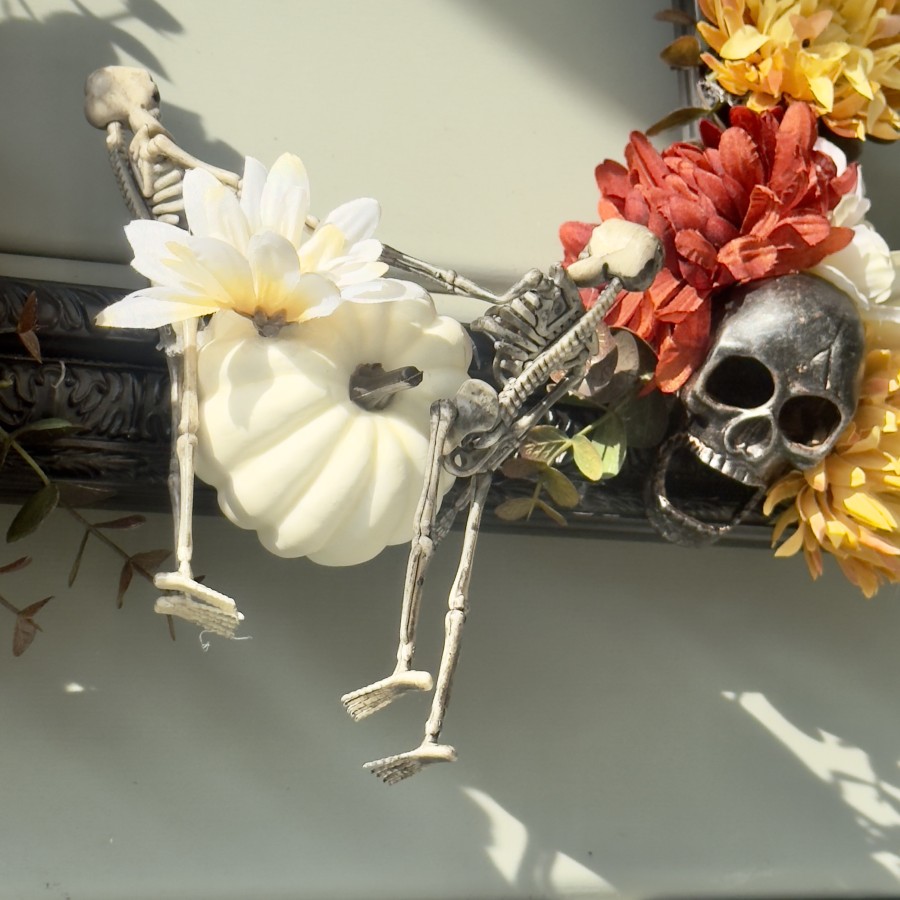
More skeleton antics with one helping the other climb up the pumpkin. I think my grandchildren will find this fun!
Other options:
- Incorporate the Fairy Lights:
- Weave the fairy lights around the frame, intertwining them with the florals and skeletons.
- Conceal the battery pack at the back of the frame using hot glue or floral wire.
- Ensure the lights are evenly distributed for a magical glow.
- Add Finishing Touches:
- Attach a sturdy ribbon or twine loop to the top of the frame for hanging.
- Add faux spiderwebs, spiders, or bats for extra spookiness (optional).
Tips for a Perfect Spooky Chic Wreath
Displaying Your Halloween Wreath

- Front Door: A welcoming, yet eerie greeting.
- Entryway Wall: A focal point for your indoor decor.
- Mantelpiece: Lean it against a wall for a festive touch.
- Gallery Wall: Integrate it into an existing display.
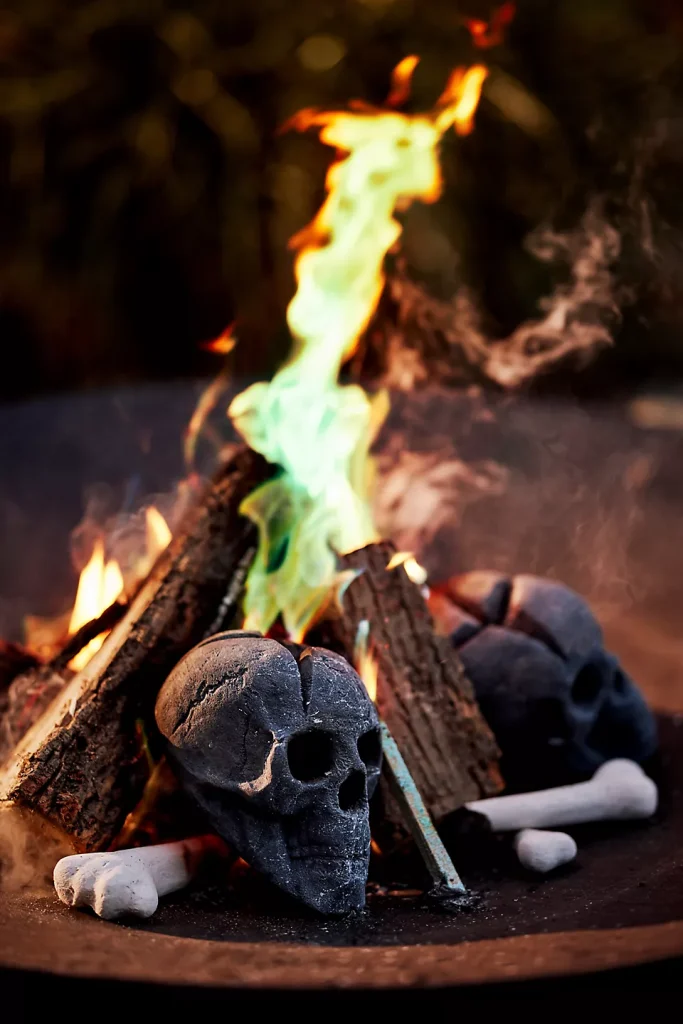
Add spooky fun to your fire pit this fall!
Skull Fire Pit Bundle
Shop My Favorites For Fall
You May Also Enjoy


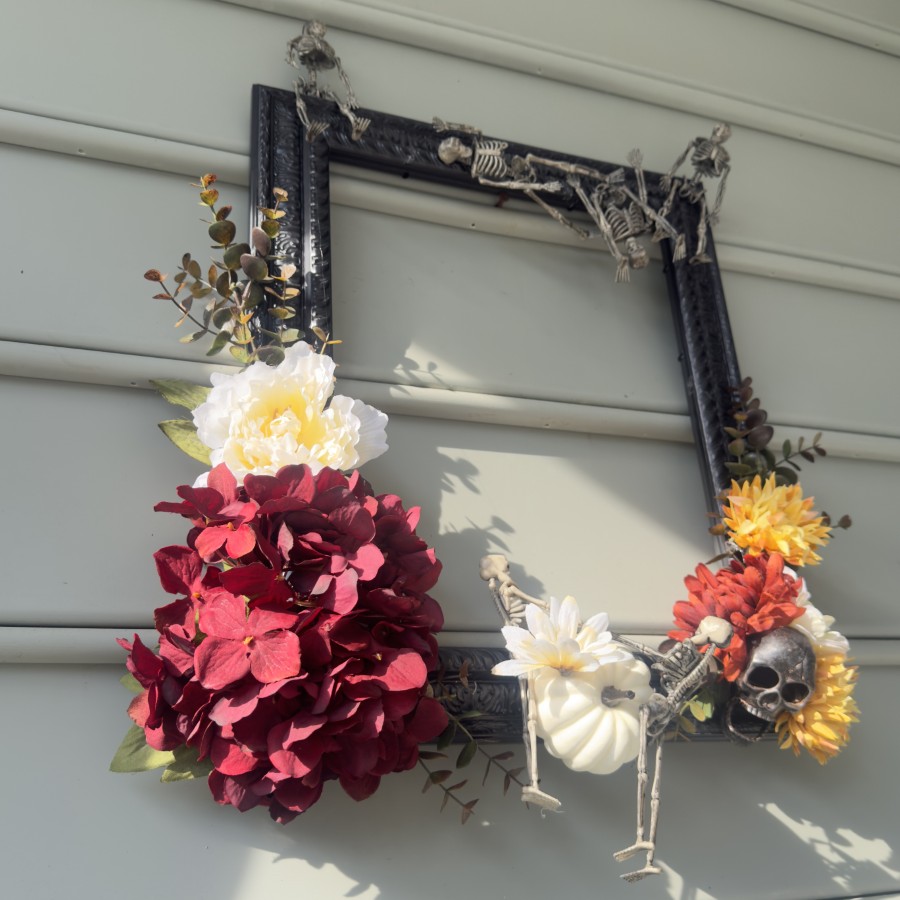
I hope you give this DIY project a try and create your very own spooky-chic skeleton wreath! This project is a fantastic way to give an old frame a new purpose and add a unique, handmade touch to your Halloween decor. Whether it’s hanging on your front door or on a festive wall, it’s sure to be a conversation starter.
I would love to see how your elegant but spooky skeleton wreath turned out! Be sure to share your photos and tag me on Instagram @whitelilacfarmhouse.
Happy crafting!


